...is the process by which we create, discover, learn and grow with those we cherish most.
writing thank you's and much more
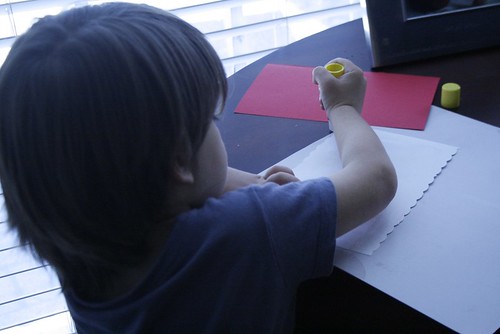
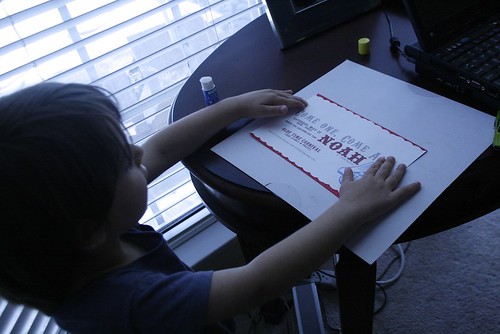
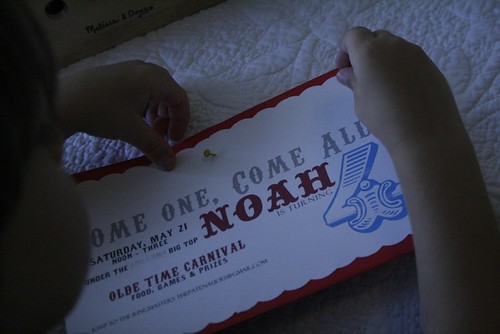
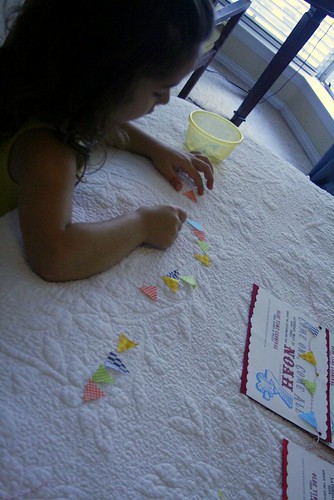
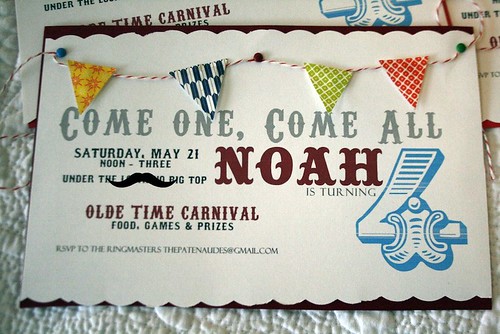
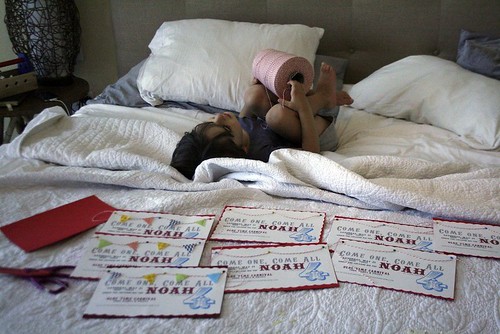
vintage carnival invitations
Now, what to do with the rest of the 3,398 yards of twine?...
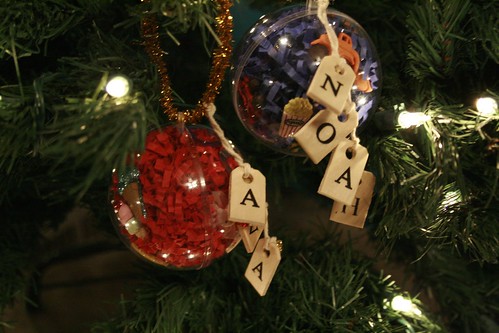
christmas eve 2010
elving
the magic of christmas: is giving
wintry window decor - snow"girl"
praise for new art


Until we discovered the ArtStop for kids...
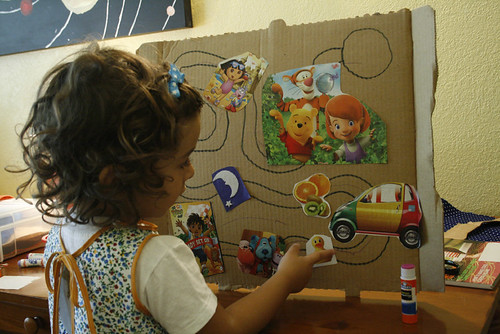
storyboard made from recyclable materials

After we sketched the traveling path, we flipped through old issues of Parent magazines and started clipping. I worked with the scissors while Ava glued them on...
So even though we didn't have an agenda when starting this art project - the time together, and process working on it, was the artful beauty in itself.
Create your own storyboard
1. We go through our recycle bins for inspiration - because when packages are repurposed, they are a whole lot more interesting. Last night's pizza did double duty here... Shoe boxes are another idea...
in love with handmade
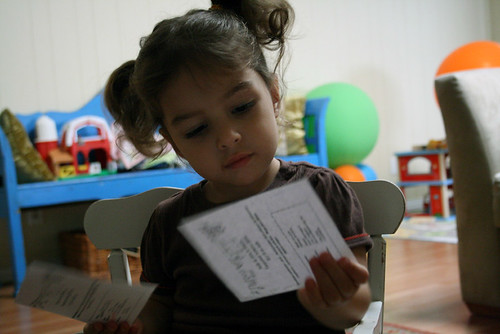
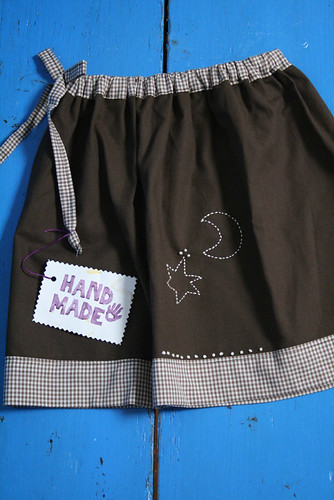
The skirt, adorned with a hand embroidered moon and star, is a brown linen trimmed with a matching gingham check - the perfect uniform for Ava's MBA don't you think? So we had to steal this one from her online store right away...
After the initial surprise wore off, she was ready to go - in other words, make the most of playtime and build tall towers while king kong was napping. So I did - but not before tying the beautiful smock on her. I love the playfulness this fabric already exudes ... the little bow that forms in the back... and the front center pocket made to hold secret treasures... no bigger than a marshmallow or two...
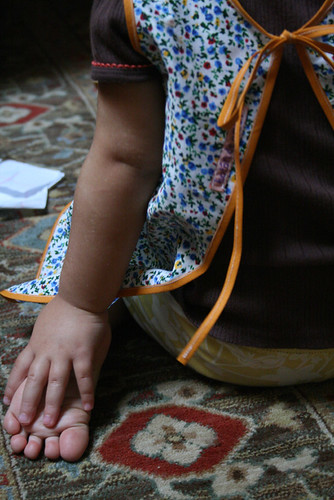
That same week, a surprise package came for me this time - from PORTUGAL! And my heart swelled up - for many reasons: Like the grand thoughtfulness of Zelia, a new friend I met from this blog, to go out of her way to hand write me a letter, buy me Portugal fabric and pencils - and send them to me along with tips on how to create Una-na handmade dolls of my own - which I adore so much.
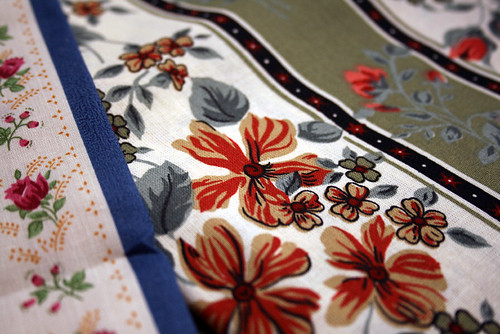
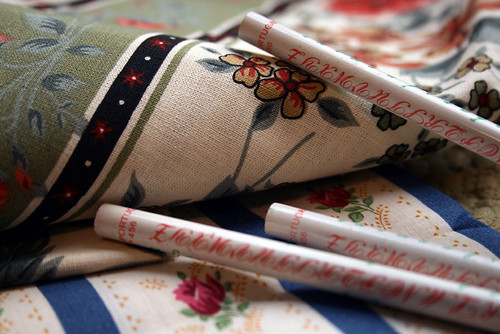
The romantic European fabric made my head spin thinking about all the beautiful things they could be instead... And I just couldn't help but picture Zelia handwriting my letter one night before sealing the package. What was I doing the exact same time I wonder? There's just something extra special about handwritten letters from afar... the time to write down cascading thoughts... the distance of travel across land and water...and the countless people that handled it before dropping it in my mailbox... wow!
All of it simply reminded me of how powerful our hands are - and how they create and move the worlds between each one of us...
Do you have a favorite handmade piece? I'd love to know...
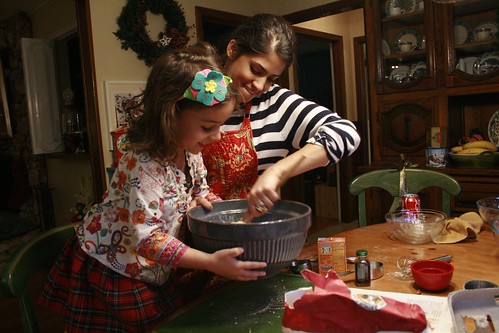
the making of brownies... and new chefs in the kitchen
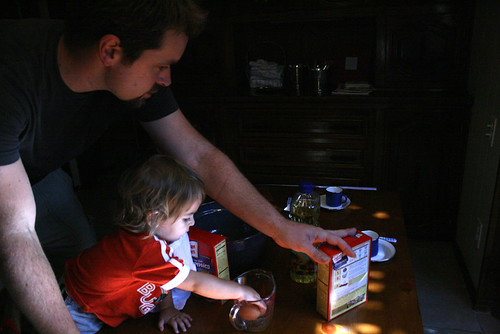
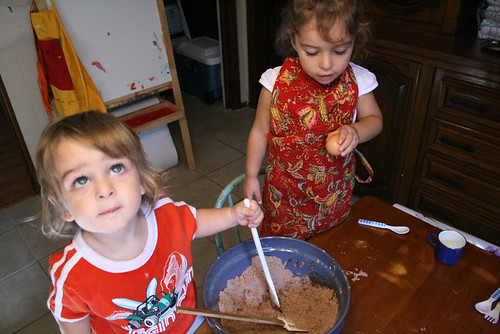
First, you measure your ingredients Noah...
But Dad? The egg? Can I do it?
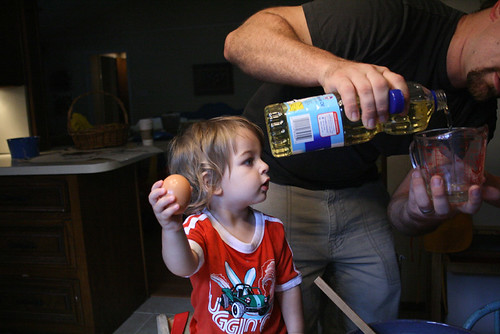
Son, I think we better let Ava handle it this time. Your mom likes her brownies to be extra chewy.
That's right Noah. Back away from the bowl. This is serious business. You're just the assistant to the chef - which is me.
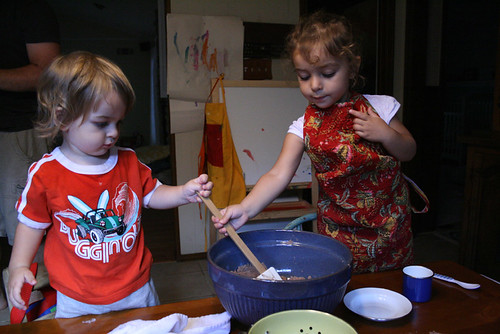
God help me. Please don't let me smack her with my spoon.
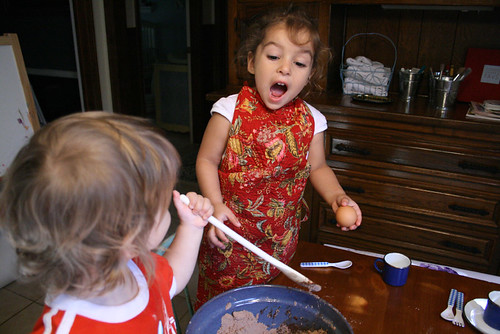
Aaaaaaaaa.......
You're not smiling anymore are you?
Kids, kids... let's focus and make magic here. This brown gooey mush is going to make everyone happy again. Watch this...
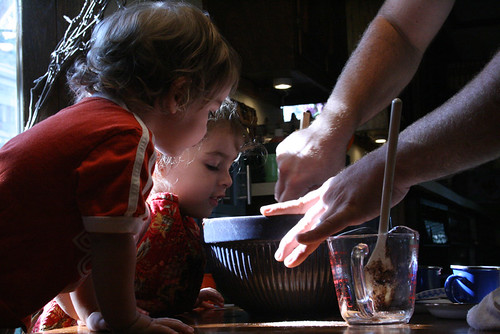
But Dad... I wanted to mix the gooey.
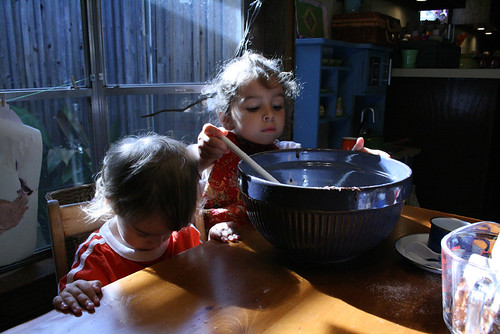
Mom. Are you paying attention to this? I didn't get to do anything!
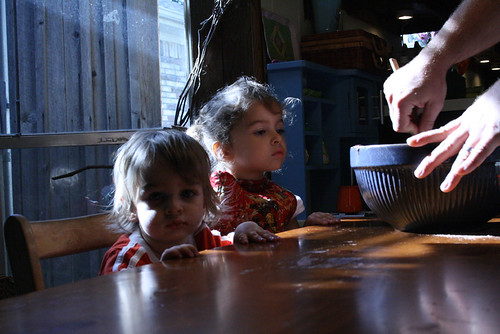
Hang in there Noah. The assistant always gets to test the chef's masterpiece first.
Here you go buddy.
Slurp.
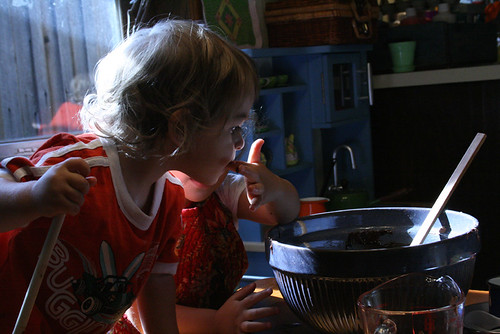
Dad you were right. Mom is soo going to love this.
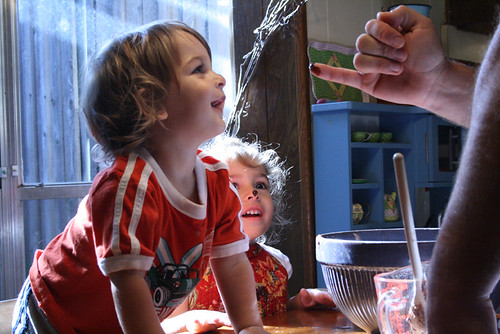
old is new again

Remember those "stray things" I bought home a few weeks ago? Well this one is from a little girls' bedroom set [desk, hutch, dresser and mirror] that I made off with for a sweet deal. Ahem. I know, I know. But it was the vintage flowers on the drawers that got to me. And when they were willing to part with it for less than a meal out on the town, I caved.
After two weeks collecting dust in our formal rooms, I was finally inspired to stow it away for Ava's growing years. While pushing this dresser to the back, I took a detour to her room to see if it'd fit. And then... I was inspired to...
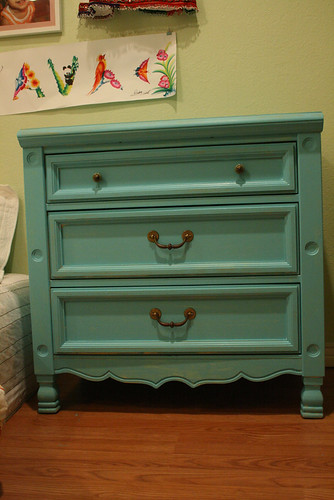
Dreamy isn't it? The best part is that it's from the lovely left-over paint I used for my studio walls - which happened to be an "oops-paint" - they hated it, but I love it kind of a find. In 30-minutes, I brushed on a new life to this piece. As I put back the vintage knobby drawer pulls... I wondered about the hands that pulled and pushed these knobs for decades... reaching for her beloved books stored on top... or inside for her most precious valuables...
After a few hours, I returned to dress it up and read some books with Ava - who responded to her new bedside table...
"wow Mommy... you painted it? I like it!"
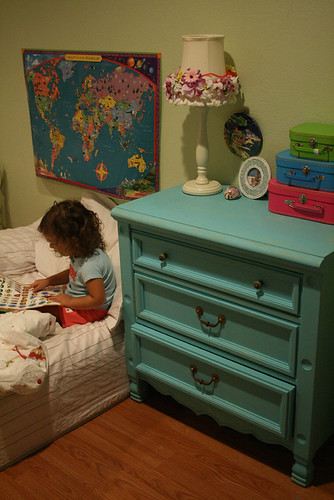
Ava's new dresser holds her sweet two year old valuables.... [top] suitcases for mini-roadtrips, a photo of her playing at the beach, a sea shell from Seaside, Fl., reading lamp for bedtime books... [and inside] hair clips and ribbons for her and dress-up clothes for her babies...
wearing childhood fashionably...
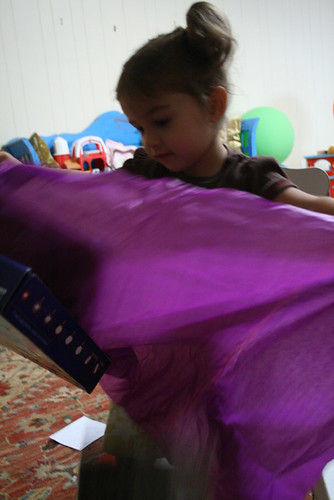
What I was most impressed with was Julie's naturalness for being a mom with a creative spirit. To surround her daughter Zoe with all that is beautiful - real - natural - and simple. I truly understand what it means to create out of love [when Aaron and I sat together during my pregnancy with Ava making things for her... stuffed animals... knitted booties....] And that's exactly what Julie does so well with her very own original clothing label, Boton De Amor. Handmade shirts and aprons are uniquely designed, showing off every bit of Julie's "button of love" and more. When our package arrived, Ava pulled out the gorgeous colored tissue paper with a sticky note for Ava - from Zoe. On it was a picture of a heart, balloon and fish [thanks to Mom Julie who labeled them for us!] I was so deeply touched that I had to steal the note from Ava when she wasn't looking and pin it on my inspiration board.
I also giggled inside, remembering how much I loved having a pen pal to write to. Remember those? Strangers we'd share our day-to-day thoughts.... confessions of crushes and betrayals.... and adolescent revelations scribbled on postcards and notebook paper carefully folded and now neatly stowed away in a shoebox with a ribbon tied around it.
My very first pen pal was my best friend Karen, who I have known since the age of 2. Karen moved away with her family to Brazil when we were just 5 years old. We became pen pals at 8. Just this week, I received an email from her -from Argentina - where she is currently traveling. It makes me smile just thinking about the irony of my most recent online order, Zoe's picture... and how wonderful pen pals are...
The linen blouse I ordered was customized for Ava. Perfect for all weather - this blouse was meant to be lived in... Make memories and dance through childhood with.

And just like that, she was off - doing exactly what I imagined her doing in her very own handmade shirt made from Boton De Amor .... Ava ran around the room laughing - having the time of her life...
Get one for your favorite girl to grow into -
1. You can order your very own Ava Linen Blouse here on Etsy. [This divine shirt was renamed after Ava ... ] The shirt buttons in the back, so it can be used to slip on as a smock.
2. Email Julie about specific toddler sizes and colors ahead of time. Each order is customized. You are getting a handmade piece tailored to fit your little one. The prices make you want to order several!
3. Know of any toddlers that would like one? Nothing sings more to a mother's heart than a handmade gift for their child... [hint, hint].
finding new art
 There wasn't much talking at the sandbox today - but there was a lot of sand flying out of it. Maybe it was because the kids haven't played in it for over a week and they were desperate to rebuild their forts ruined by the rain. After 10 minutes, their interest evaporated so I turned on the hose and made huge puddles for them to splash in while I cleaned out the backyard. This made Noah extremely cranky and tired - quickly. So while he napped, Ava and I both tried something new for the first time - hand embroidery.
It seems like fun - and an excellent way to let our fingers do the creative work. Plus, there's no sewing machine involved. On top of that, the book I'm reading right now shows how embroidery can be a fun way for kids to express their artwork. That was enough for me to try it with Ava.
After showing her this morning how to poke through the burlap just once, Ava took on the challenge and mastered making lines! She even asked to use different colors! I couldn't believe my eyes.


As for me - well, I don't have a clue what I'm doing. I don't even know how to knot the threads so that they don't pull through. But I tell you this - it is definitely a relaxing craft. I put all of our skeins and hoops into a basket and placed it next to the couch so that we can pick it up when ever Ava felt like it. I wonder how long this process will take... or if it ever will. But at least it's there, and I have today to remember forever.
To get started with your little one(s), here's what you need:
1. 2 hoops - a big and small one for each of you. I got a 10-inch hoop and a 6-inch one for Ava's hands.
2. Burlap makes the most sense to use for your little one to practice with. [A good tip I got from the book]. The holes are malleable and big enough to accommodate the large plastic dull needle they will need. For you, buy a pack of tapestry needles [they look like regular ones, but I'm sure there's a difference.]
3. Buy lots of colorful skeins. At only 29 cents a bundle - you can't go wrong mixing colors. We had Ava help pick out colors at the store. The decision [as if she was picking out ice-cream flavors] was exciting.
4. I threaded all 6 threads on her plastic needle so that her lines would be big and bold. For myself, I split it into 3 - I think that's average for linen fabric.
5. After threading the needle, I tied a knot so that the needle wouldn't slip while she pulled.
6. To get started, I poked the first hole from the bottom-side and then slipped it back through and tied off a knot so that the string would hold onto the burlap.
7. And that's it. I've never used a hoop before, but when you get one, you'll see how there are 2 circles, one big and one small. Place the fabric in between and pull the fabric so that it's stiff. Re-tighten.
8. Good luck - and let me know how this experience goes for you.
creating a space of her own
.JPG)
This morning was such a day. With her pajamas still on, she was determined to create a palette of new colors by combining a few primary ones. Ava has shown a tremendous amount of interest in art [paint especially] for quite some time. When my mom took Ava for a "day out" alone, and told her she could have something to take home from the toy store, she chose a watercolor set, which she followed by giving the most genuine thank you [I am told] that made the store clerk's jaw drop and mom tear up.
So when we stumbled upon a craft table at Pottery Barn Kids yesterday, I was sold on the idea of creating a special space for Ava to do her art. So after the kids went to bed last night, we assembled the new table in our breakfast room, added a roll of butcher paper on top and cushions from an old sofa underneath. We tossed her crayons, chalks, markers, watercolors, finger paints and acrylics in the middle. Her Aunt Wagma came by today to visit and even she was drawn to the table to "create." They did her first art project at the table - with crayon shavings... Remember those?

We really enjoyed watching her curiosity grow with excitement using a sharpener for the first time and turning her crayons into chunks of glitter. We hung her "project" with stickers and color forms on the bay window behind her table so that she can be proud of her piece and remember the time spent with family creating it.
If you forgot how to... here it is:
Crayola Glitter Recipe
1. Use broken crayons or start collecting free ones from restaurants.
2. Peel off the paper and sharpen. We used an egg crate container to hold the shavings.
3. With your fingers, grind the curls to your preferred size.
4. Apply Elmer's glue to your picture and then sprinkle the shavings on top. You'll get better
results if you work in small sections at a time.
5. Turn the paper over and shake off excess shavings and re-use these to cover the remaining areas.
have fun!


